How to add a feedback button with Google Tag Manager
Add Bopmigo to any site through a Custom HTML tag, without touching the site’s code, and test it in Preview first.
Short answer: create a Custom HTML tag with your Bopmigo line, fire it on All Pages, test it in Preview, and publish. No code change on your site.
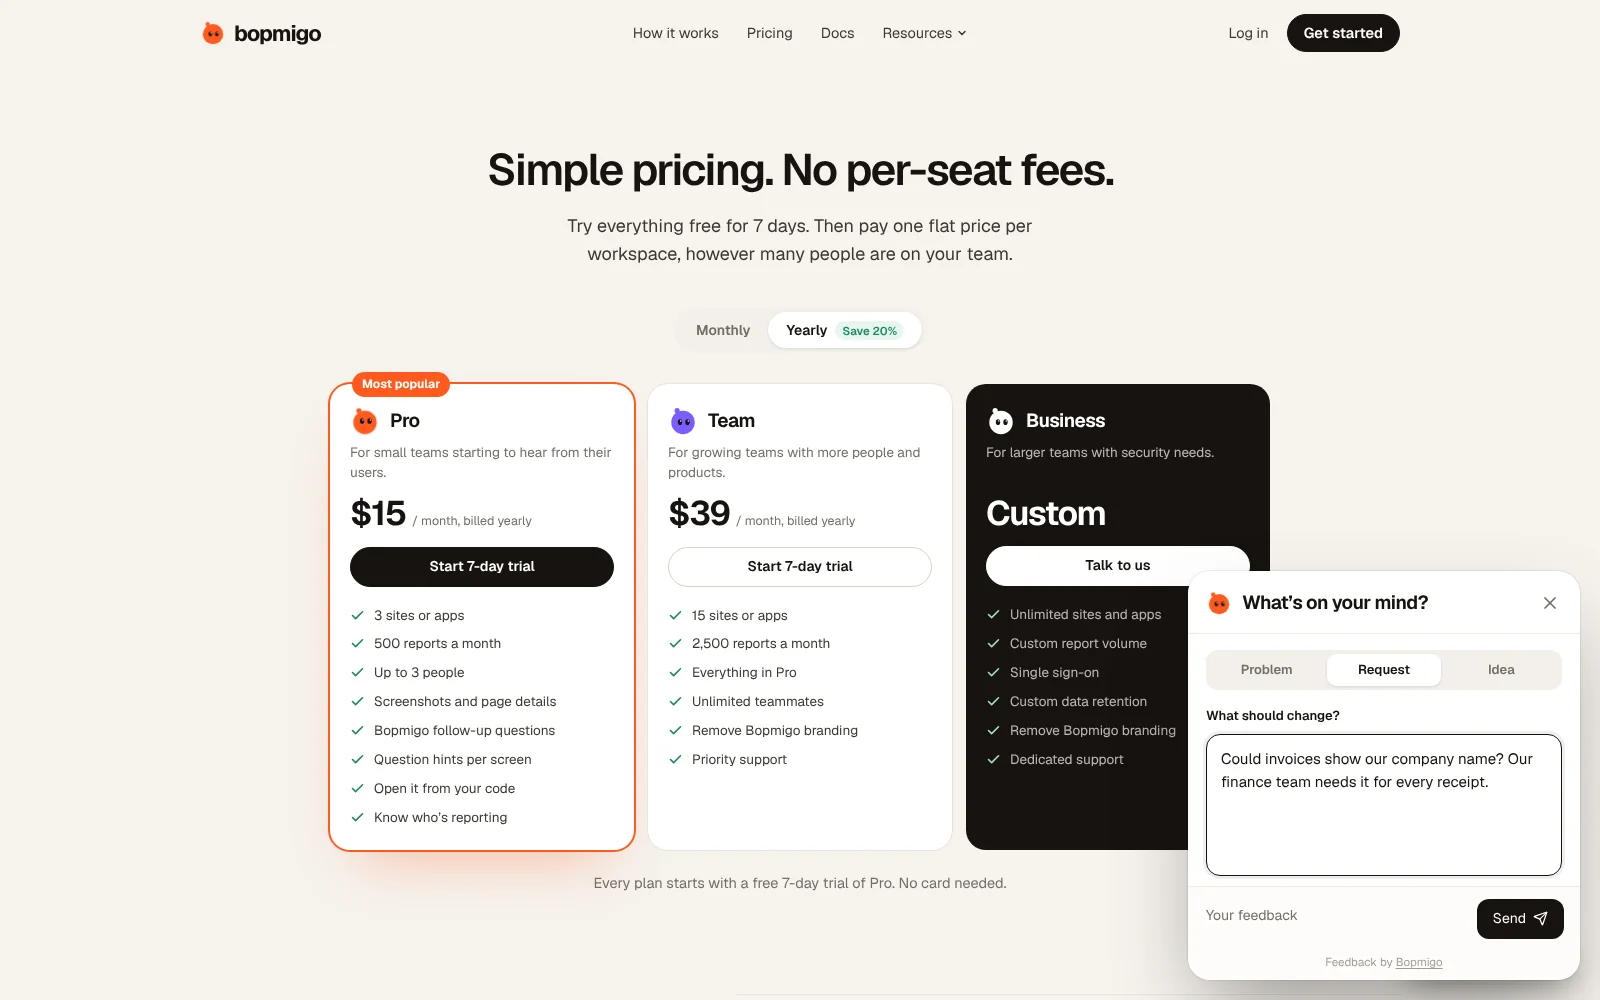
Add it to Google Tag Manager
- 1
Create your Bopmigo project
Sign up at bopmigo.com, choose Website, and add your Google Tag Manager address. Copy your line from Install snippet:
HTML<script src="https://bopmigo.com/widget.js" data-project="YOUR-PROJECT-ID" defer></script> - 2
Open it
In your container, go to Tags › New and choose Custom HTML.
- 3
Add your line
Paste your Bopmigo line and name the tag “Bopmigo”.
- 4
Go live
Set the trigger to All Pages, click Preview to check the button appears, then Submit and publish.
- 5
Send yourself a test
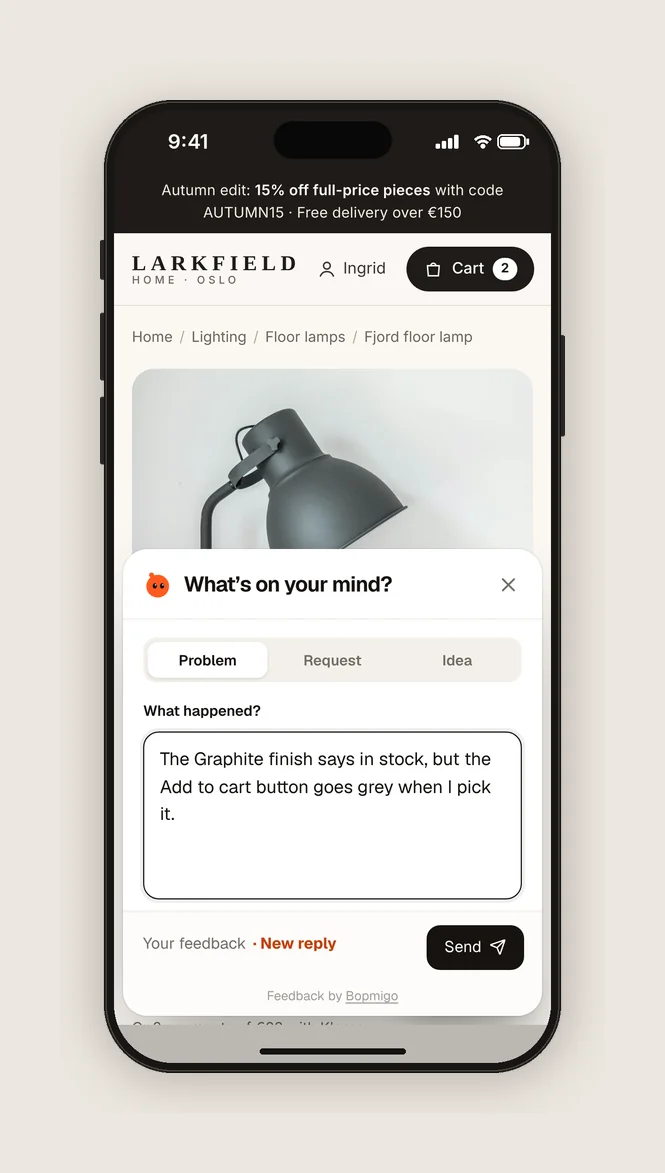
Open the live page, choose Feedback and send a short report. It arrives in your Bopmigo inbox (and by email, if you turned that on). Reply, then open Feedback again to see your answer.
Google Tag Manager tips
- Test in Preview before publishing: if the button doesn’t show, check that your address is listed in the Bopmigo project.
- If your site uses a consent tool, review Advanced Settings › Consent Settings for this tag and follow your site’s consent setup. In Preview, check when the tag fires, then send a test report after any required consent.
- Pages without the GTM container won’t show the button.
Grouped requests
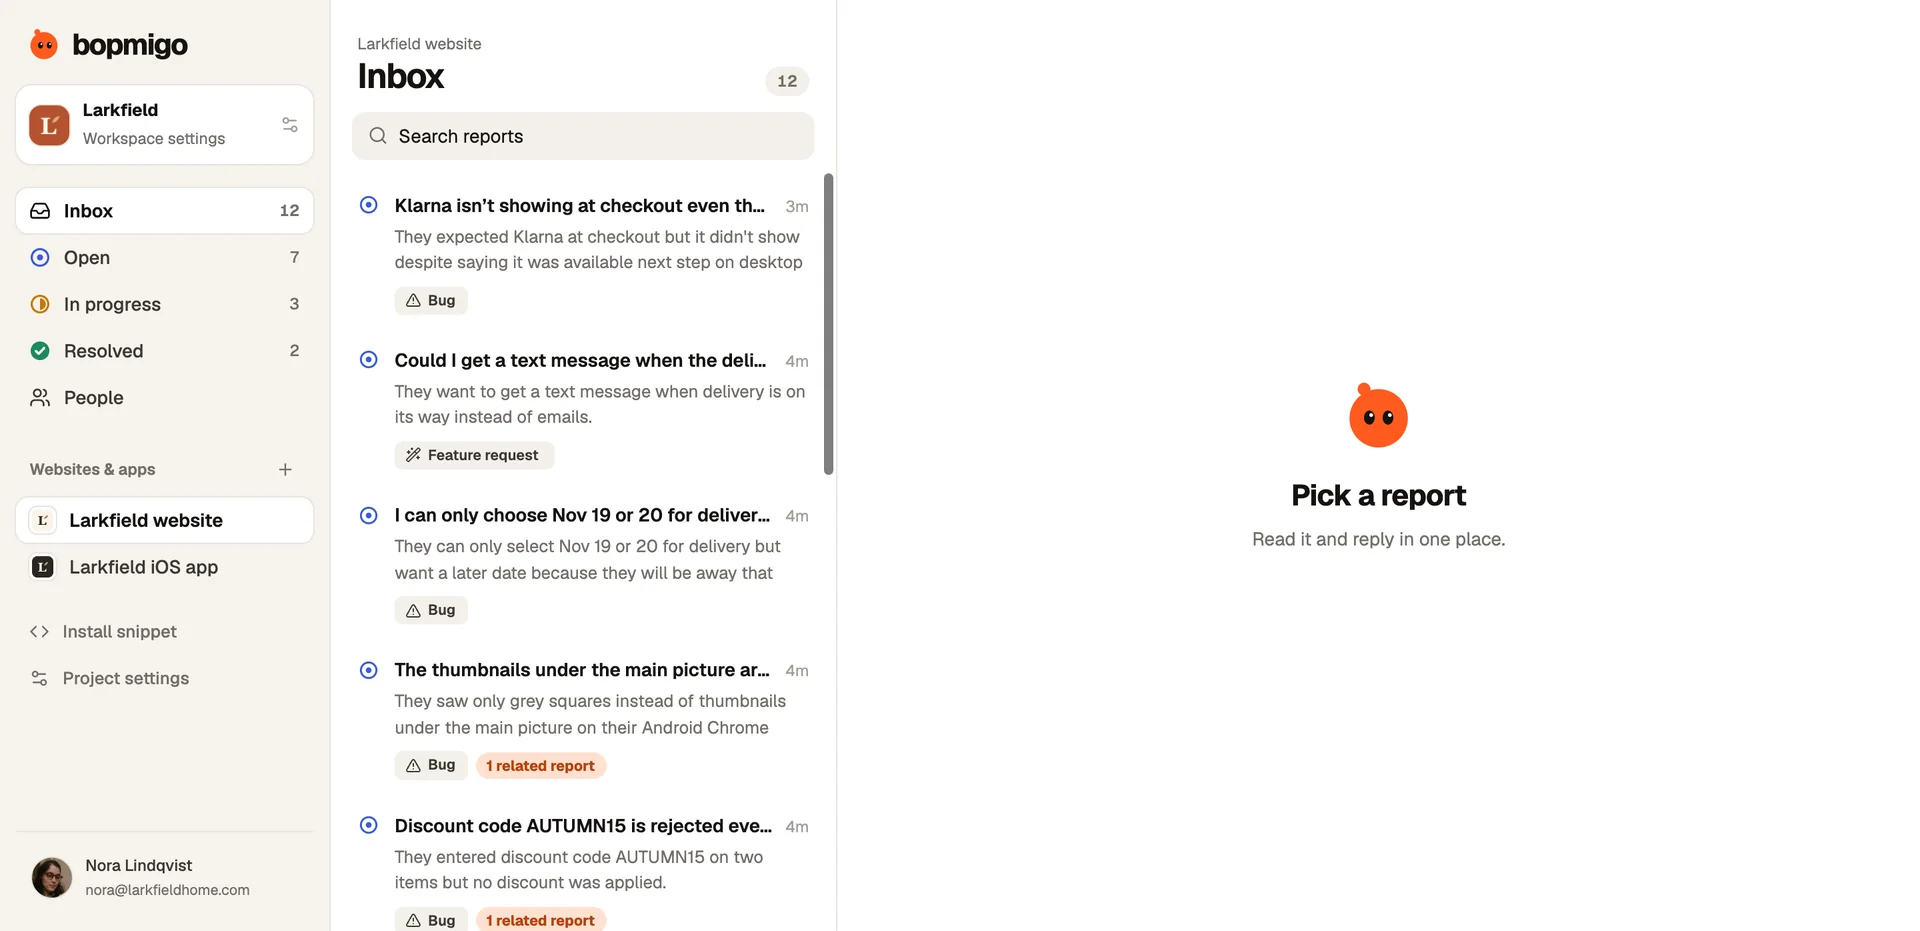
When several people ask for the same thing, Bopmigo groups their requests, so you see what matters most without reading every report twice.
What Google Tag Manager users tend to report
- Problems on pages owned by other teams, like a checkout you can’t edit.
- Forms from third-party tools that fail.
- Feedback across several sites managed in one container.
Your first week
- 1
Day 1: publish and preview
Use GTM Preview to confirm the tag fires on every page, then publish the container.
- 2
Days 2 to 5: check every site in the container
If one container serves several sites, add each address to the right Bopmigo project.
- 3
Days 6 and 7: review by page
Pages owned by other teams often surface first. Share those reports with the owner.
Questions
Is GTM better than pasting the line on the site?
It’s handy when you can’t edit the site’s code. Pasting the line directly is just as good if you can.
Does it work with GTM server-side?
Use a web container. The button runs in the visitor’s browser.
Why doesn’t the button show?
Check that the address you’re on is listed in your Bopmigo project, that the change is live, and open a private window in case of caching. If your site has a Content Security Policy, allow https://bopmigo.com.
More: all install guides · website options · install with a coding agent