How to add a feedback widget to a Hugo site
Where the Bopmigo line goes in a Hugo site (layouts/_default/baseof.html (or your theme’s footer partial)), with code you can copy, and how to test it locally.
Short answer: add your Bopmigo line to the base template, layouts/_default/baseof.html, just before </body>. Rebuild and deploy.
Add it to Hugo
- 1
Create your Bopmigo project
Sign up at bopmigo.com, choose Website, and add your Hugo address. Copy your line from Install snippet:
HTML<script src="https://bopmigo.com/widget.js" data-project="YOUR-PROJECT-ID" defer></script> - 2
Open it
If you use a theme, copy its
baseof.html(or footer partial) into your ownlayoutsfolder so updates don’t overwrite it. - 3
Add your line
Add the line before
</body>.HTML<!-- layouts/_default/baseof.html --> <body> {{ block "main" . }}{{ end }} <script src="https://bopmigo.com/widget.js" data-project="YOUR-PROJECT-ID" defer></script> </body> - 4
Go live
Run
hugoand deploy. - 5
Send yourself a test
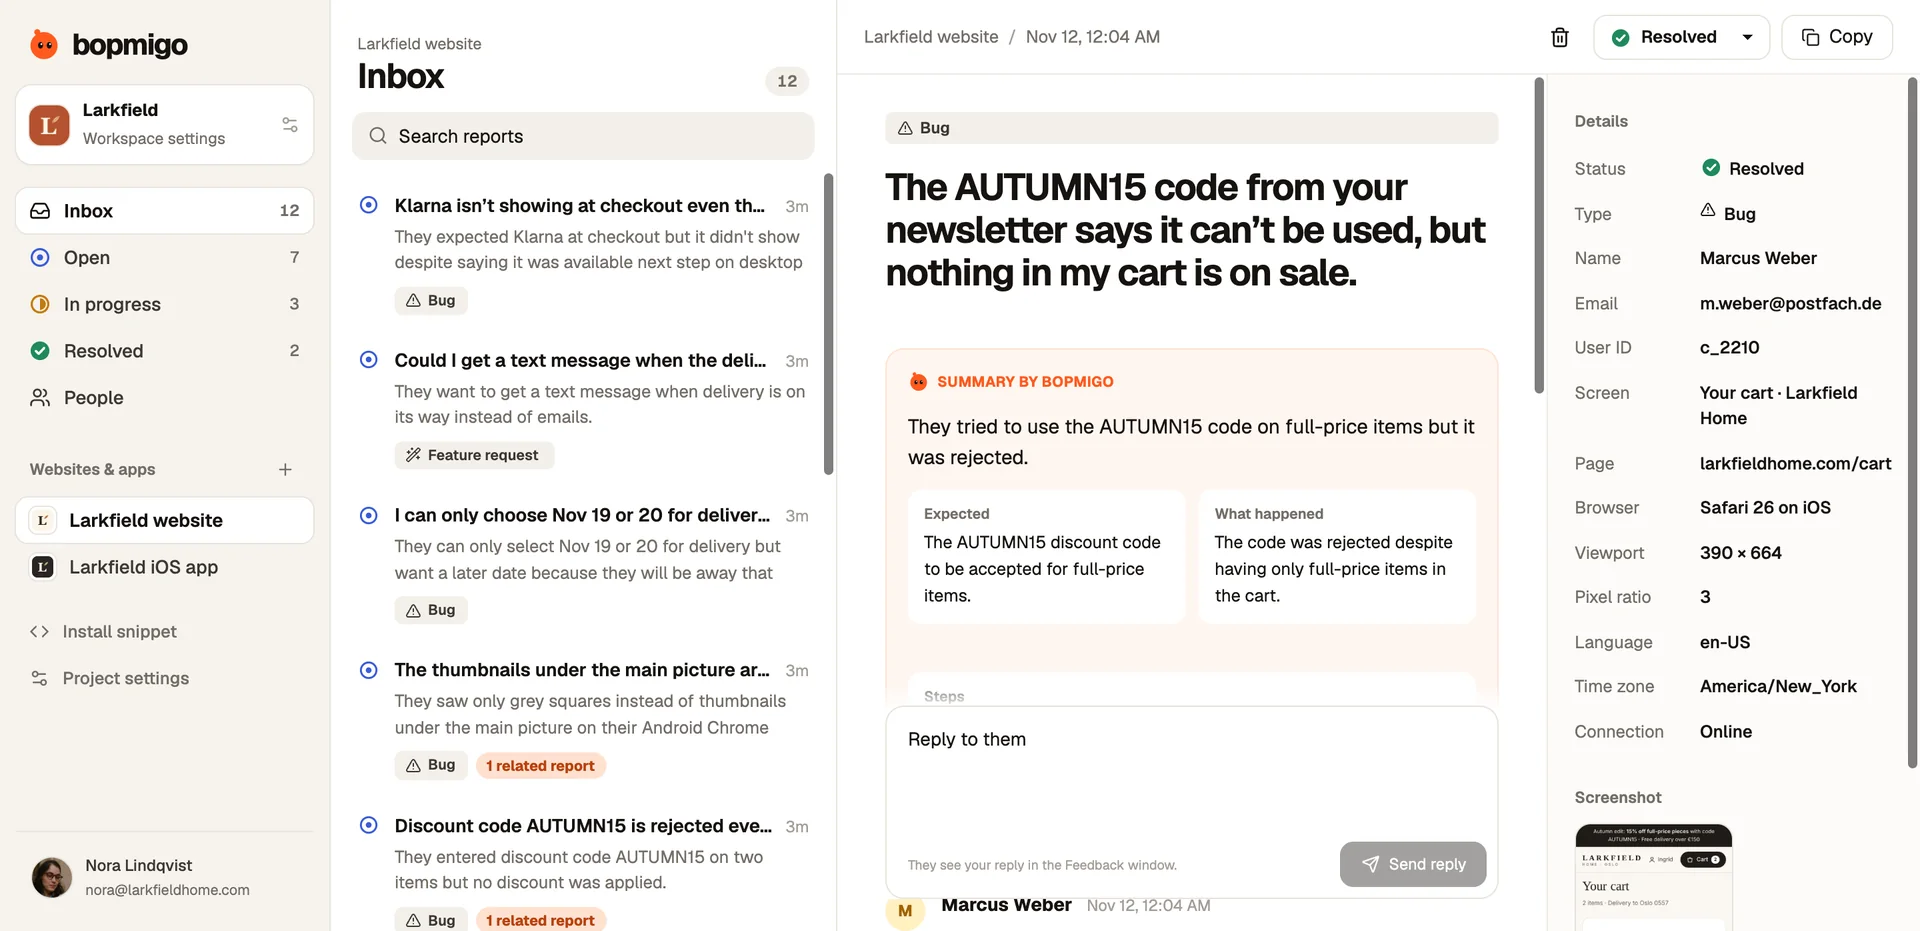
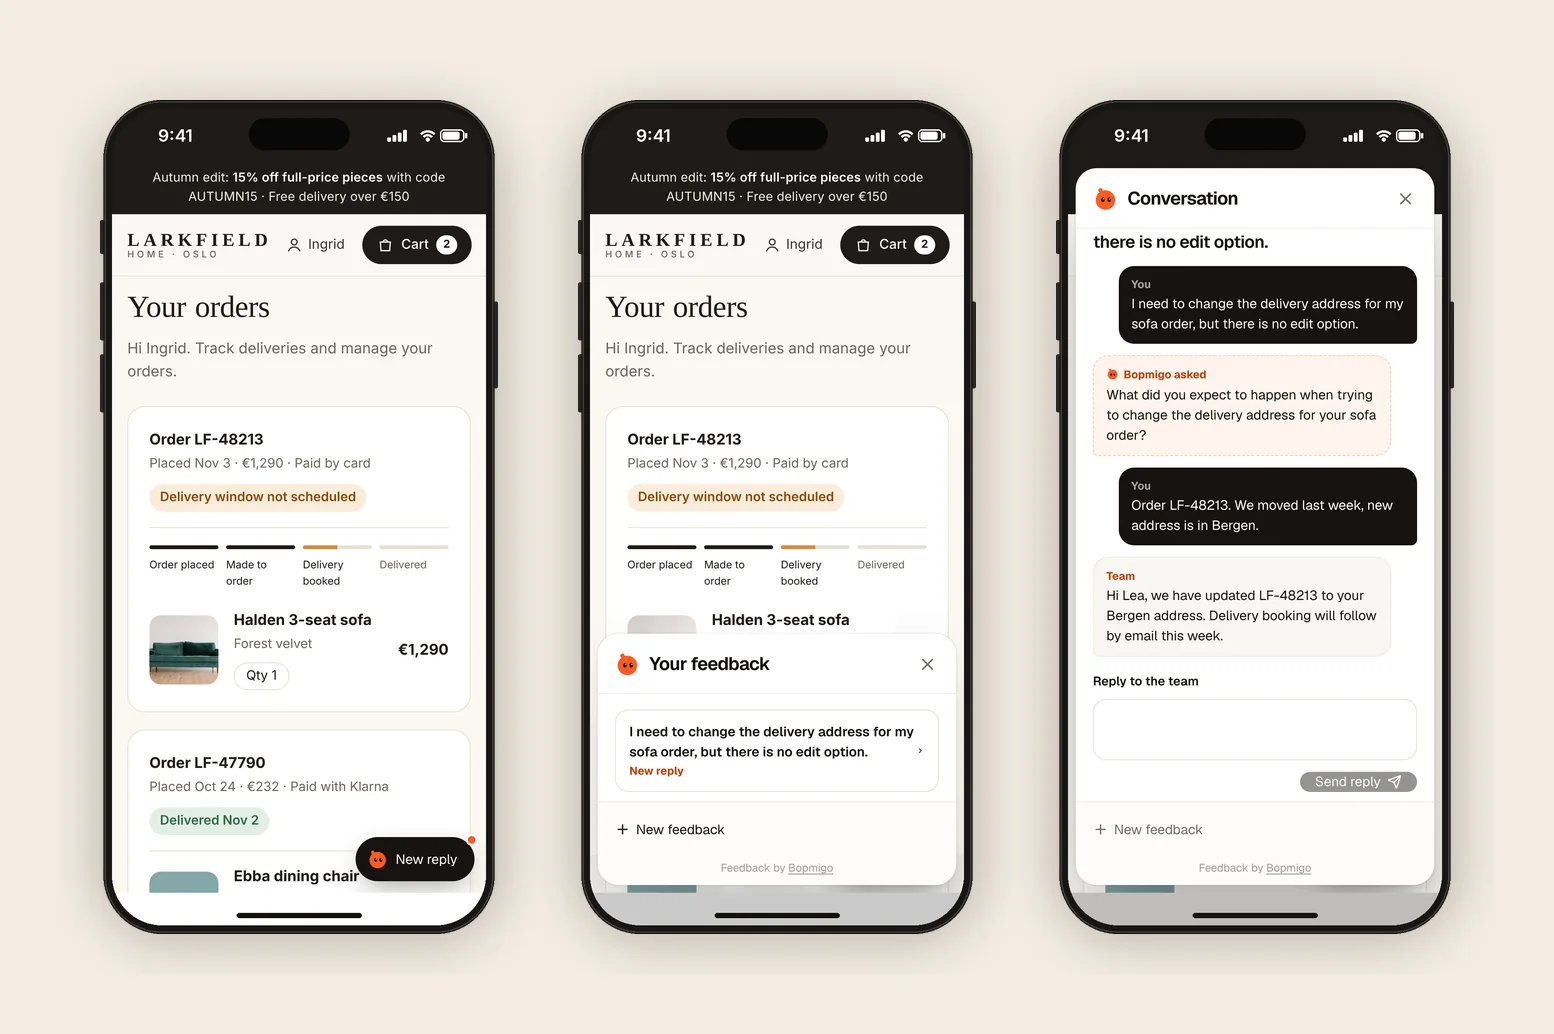
Open the live page, choose Feedback and send a short report. It arrives in your Bopmigo inbox (and by email, if you turned that on). Reply, then open Feedback again to see your answer.
Hugo tips
- Never edit files inside
themes/directly: theme updates replace them. - Many themes have a
custom-footerorextend-footerpartial for exactly this. - Add your production URL and
localhost:1313to the project in Bopmigo.
Single-page apps and client-side routing
Load the script once in the root layout, not per page. Bopmigo notes the page people are on when they report, including after client-side navigation, so there’s nothing to re-run on route changes.
Testing locally
Add your local address (for example http://localhost:3000) to the project in Bopmigo, alongside your production address. Reports are only accepted from addresses you list.
What Hugo users tend to report
- Broken links and missing images after a rebuild.
- Search that doesn’t find a page.
- Readers asking for an example a page is missing.
Your first week
- 1
Day 1: test locally and in production
Send a report from localhost and from your live site, and check both arrive in the same inbox.
- 2
Days 2 to 5: identify signed-in users
Pass the user ID and any useful context, such as plan or account, so each report says who it came from.
- 3
Days 6 and 7: route reports to your tracker
Copy reports that need code changes into your issue tracker, and reply when the fix ships.
Questions
Will it work on every page?
Yes, if it’s in baseof.html or a footer partial every page uses.
Does Hugo need to process the script?
No. It’s plain HTML.
Why doesn’t the button show?
Check that the address you’re on is listed in your Bopmigo project, that the change is live, and open a private window in case of caching. If your site has a Content Security Policy, allow https://bopmigo.com.
More: all install guides · website options · install with a coding agent