How to add a feedback widget to a Laravel app
Where the Bopmigo line goes in a Laravel app (your main Blade layout, for example resources/views/layouts/app.blade.php), with code you can copy, and how to test it locally.
Short answer: paste your Bopmigo line into the Blade layout your pages extend, just before </body>. Deploy.
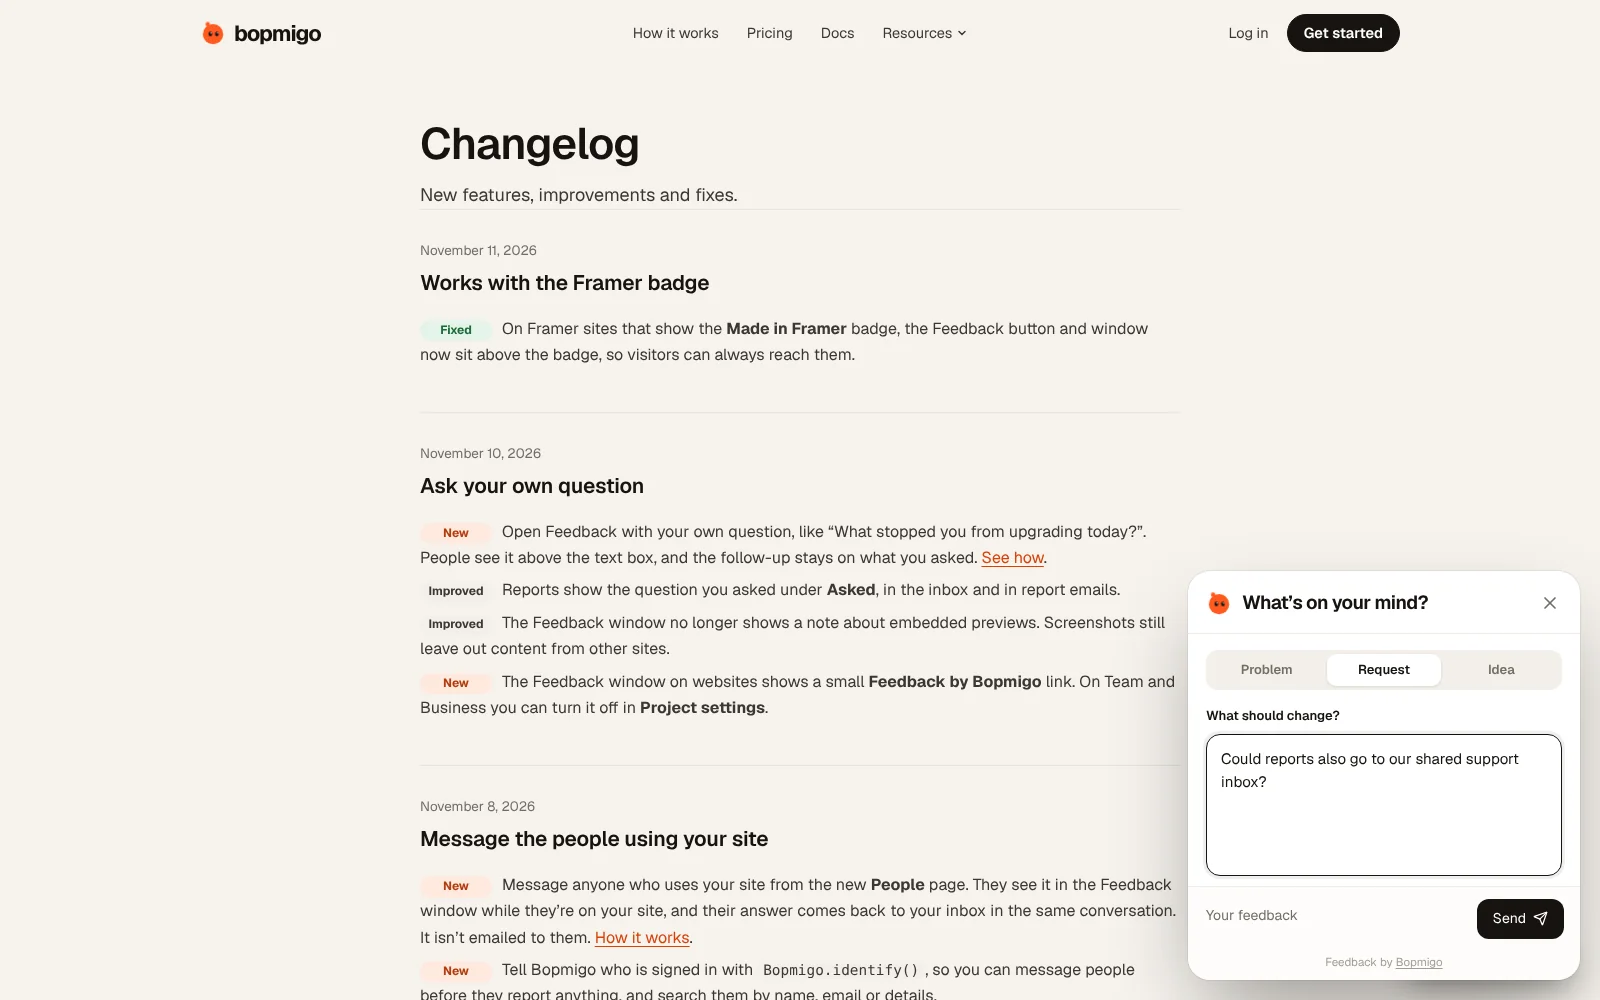
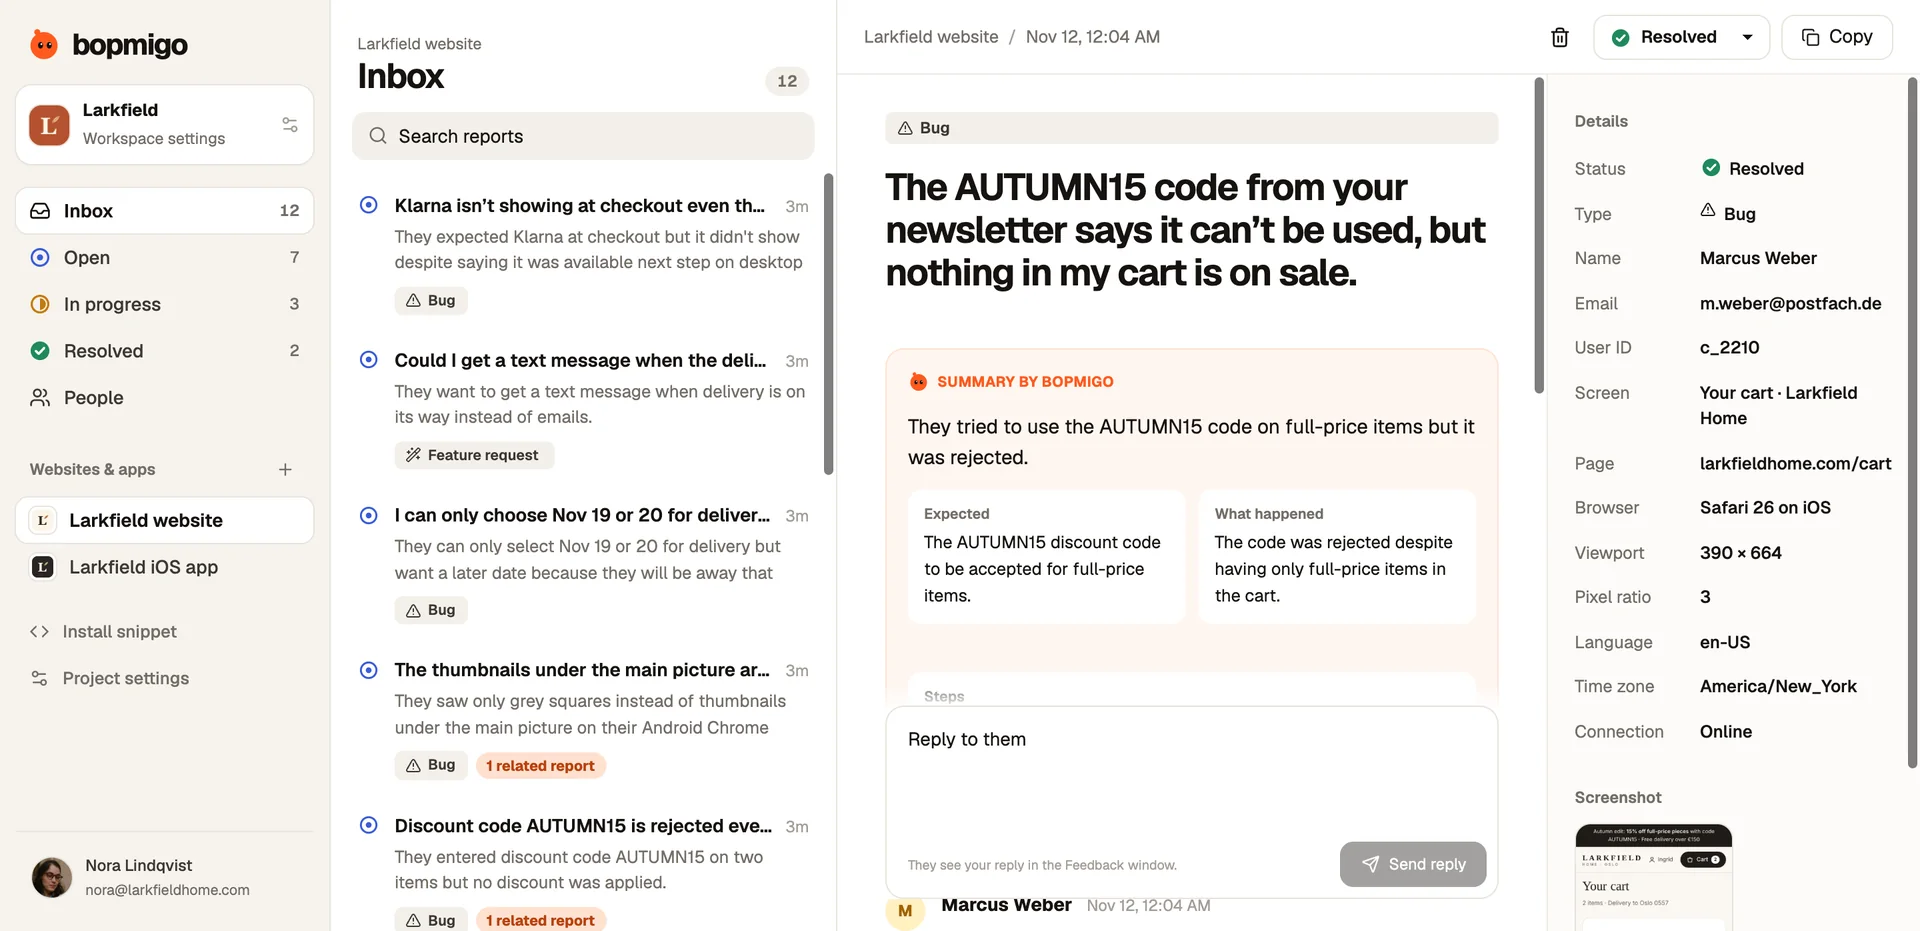
Add it to Laravel
- 1
Create your Bopmigo project
Sign up at bopmigo.com, choose Website, and add your Laravel address. Copy your line from Install snippet:
HTML<script src="https://bopmigo.com/widget.js" data-project="YOUR-PROJECT-ID" defer></script> - 2
Open it
Open the layout your views extend.
- 3
Add your line
Add the line before
</body>. ReplaceYOUR-PROJECT-IDwith your project ID. Use a separate project ID for staging if you want to separate reports.Blade{{-- resources/views/layouts/app.blade.php --}} <body> @yield('content') <script src="https://bopmigo.com/widget.js" data-project="YOUR-PROJECT-ID" defer></script> </body> - 4
Go live
Deploy.
- 5
Send yourself a test
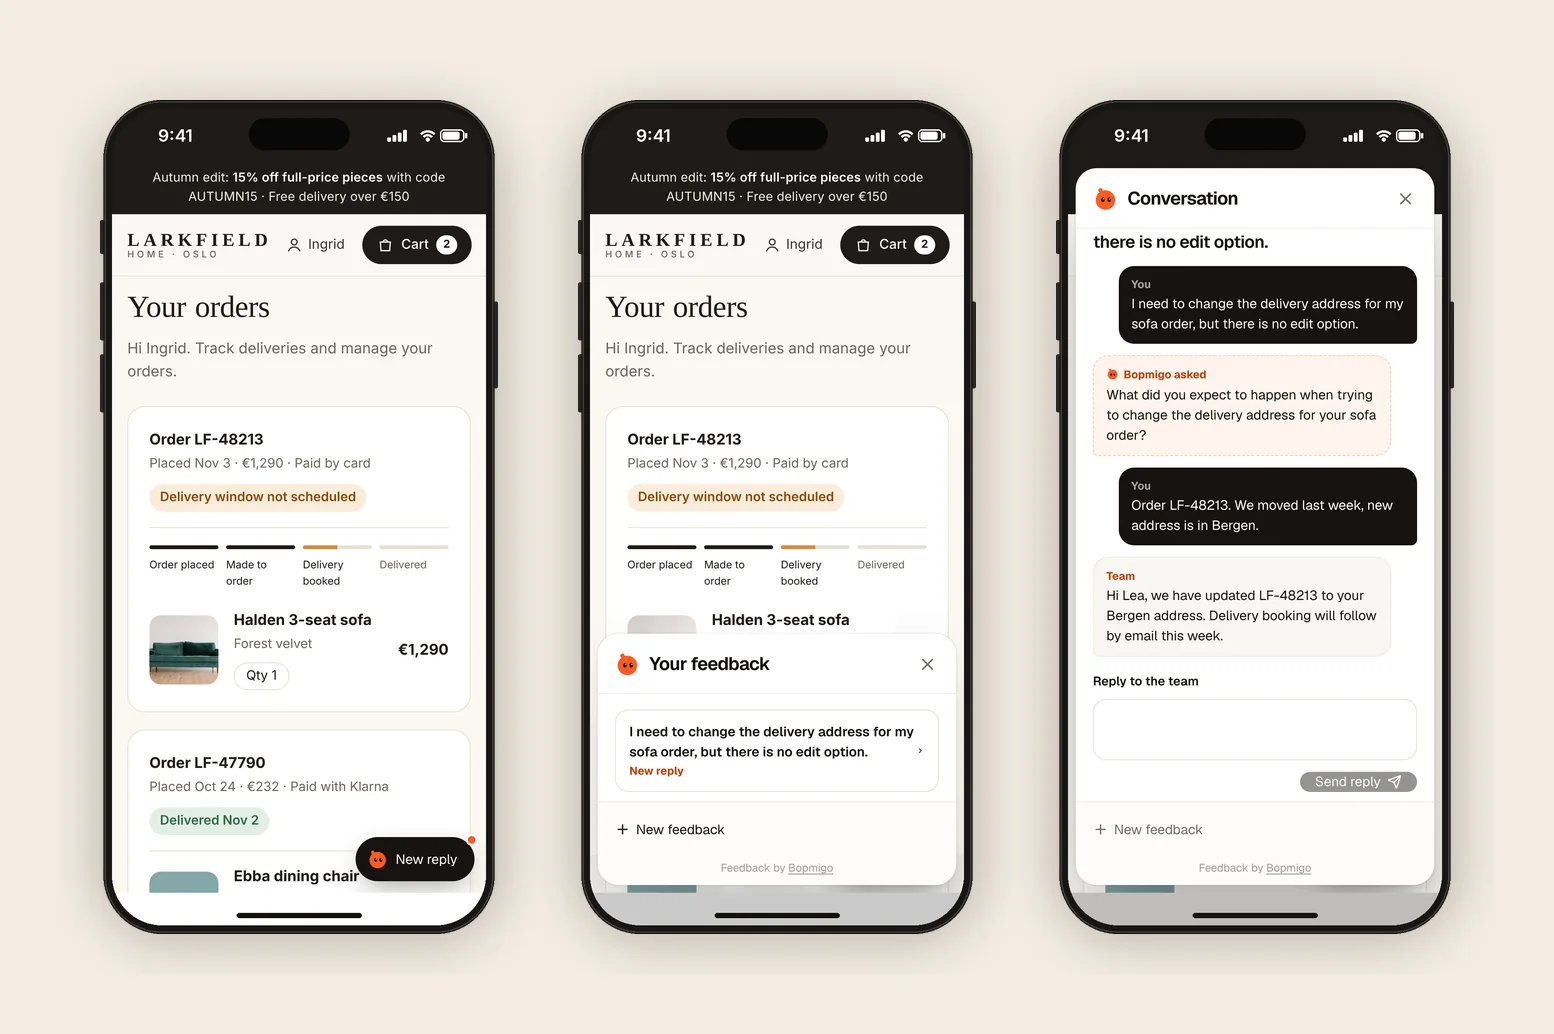
Open the live page, choose Feedback and send a short report. It arrives in your Bopmigo inbox (and by email, if you turned that on). Reply, then open Feedback again to see your answer.
Laravel tips
- Apps with several layouts (app, guest, admin) need the line in each one you want covered.
- With Livewire or Inertia, page changes are picked up automatically.
- Add your local address (for example
http://localhost:8000) to the project to test.
Single-page apps and client-side routing
Load the script once in the root layout, not per page. Bopmigo notes the page people are on when they report, including after client-side navigation, so there’s nothing to re-run on route changes.
Testing locally
Add your local address (for example http://localhost:3000) to the project in Bopmigo, alongside your production address. Reports are only accepted from addresses you list.
What Laravel users tend to report
- Validation errors that confuse people.
- Session timeouts that lose a half-filled form.
- Emails from your app that never arrive.
Your first week
- 1
Day 1: test locally and in production
Send a report from localhost and from your live site, and check both arrive in the same inbox.
- 2
Days 2 to 5: identify signed-in users
Pass the user ID and any useful context, such as plan or account, so each report says who it came from.
- 3
Days 6 and 7: route reports to your tracker
Copy reports that need code changes into your issue tracker, and reply when the fix ships.
Questions
Does it need a Composer package?
No. It runs in the browser.
Can I show it only to signed-in users?
Yes, wrap the line in @auth … @endauth.
Why doesn’t the button show?
Check that the address you’re on is listed in your Bopmigo project, that the change is live, and open a private window in case of caching. If your site has a Content Security Policy, allow https://bopmigo.com.
More: all install guides · website options · install with a coding agent