How to add a feedback button to your Next.js site
Add a Feedback button to Next.js in a few minutes, so visitors can report bugs and ideas with a screenshot, and you get the whole story.
Short answer: create a free Bopmigo project for your Next.js site, copy the one line it gives you, and paste it into your root layout or custom App, with next/script. Deploy, and a Feedback button appears on every page.
What your visitors get
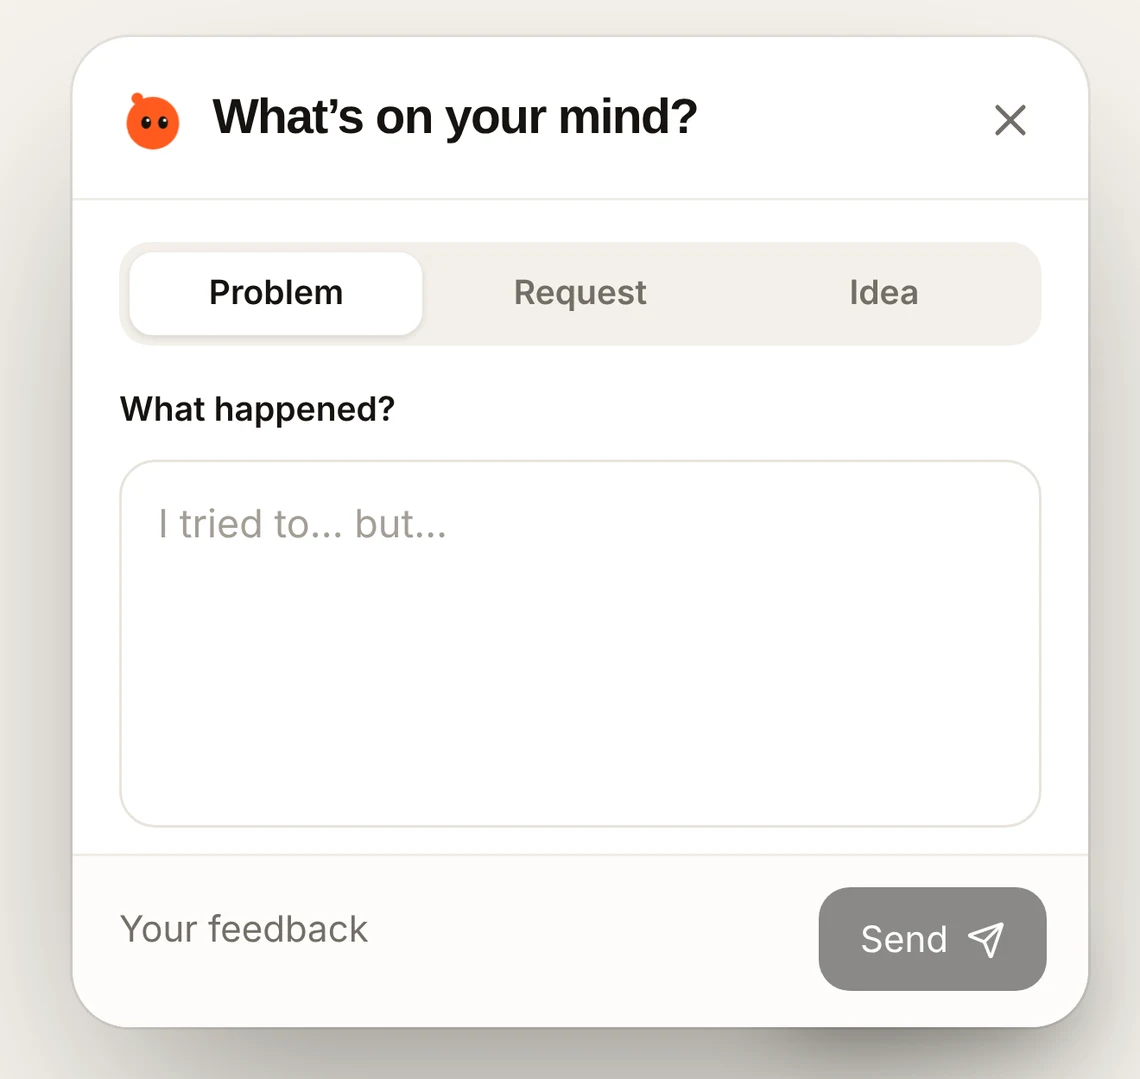
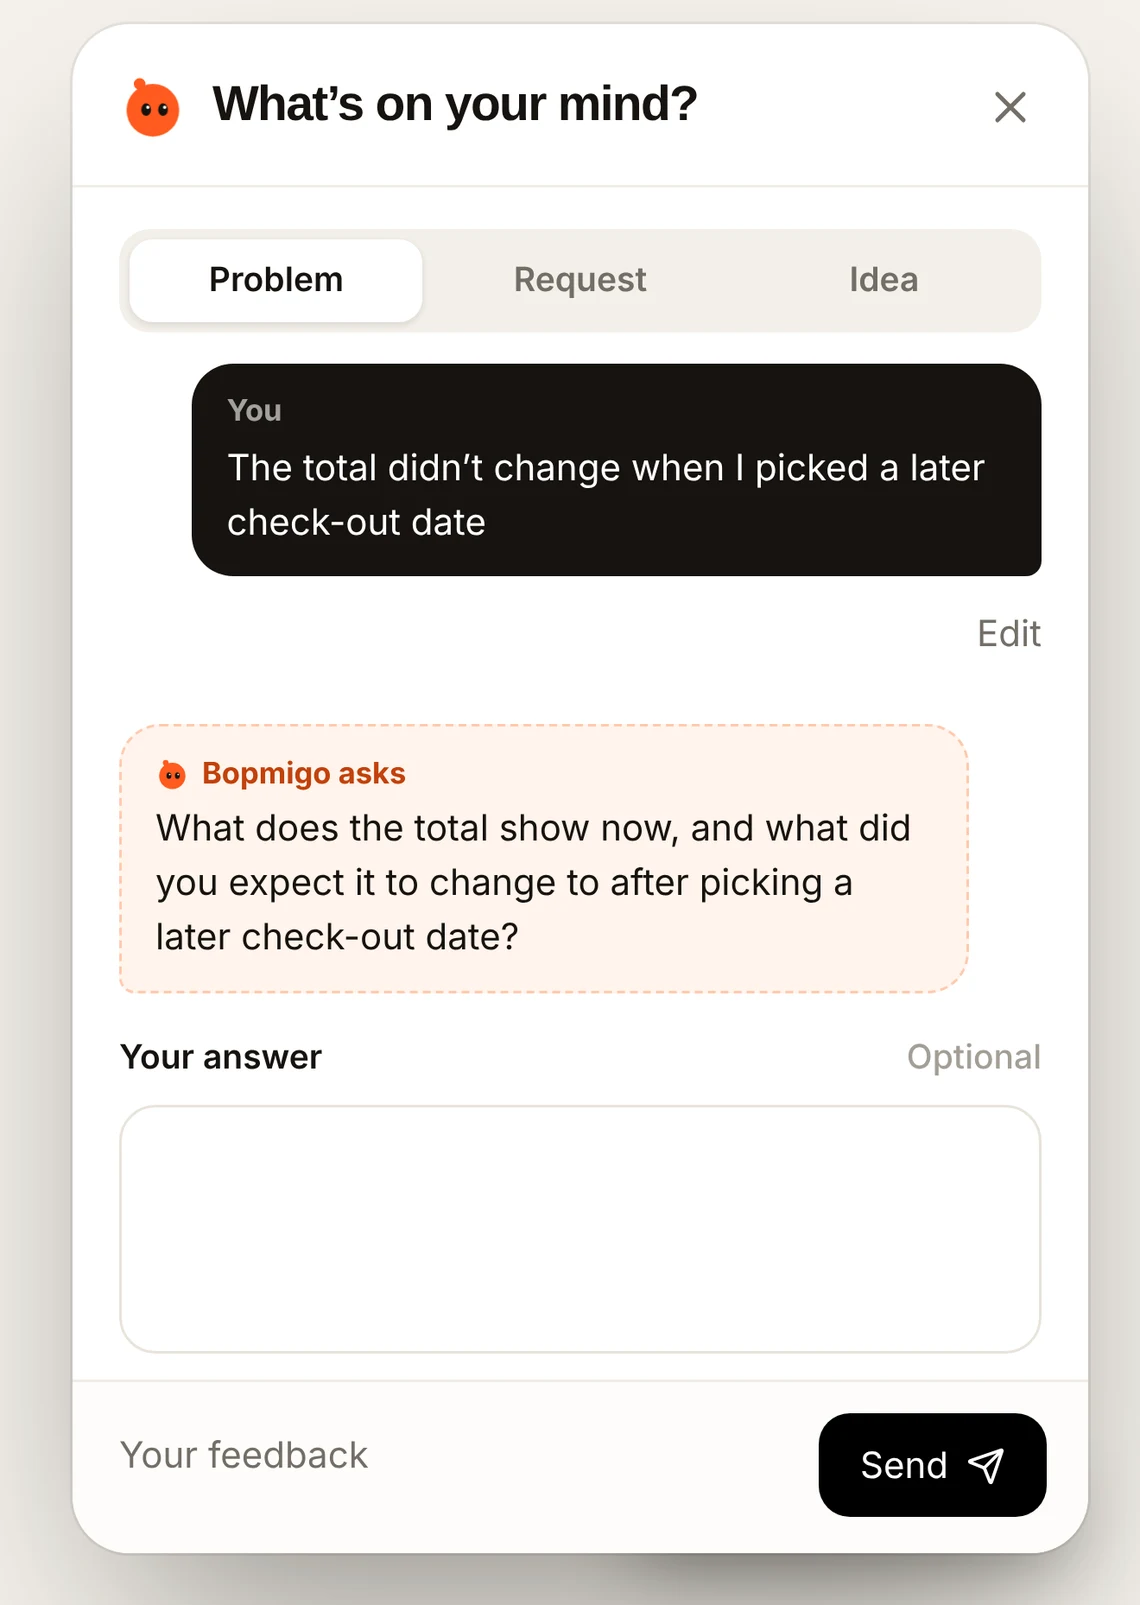
A small Feedback button in the corner. They pick Problem, Request or Idea and write a line. Bopmigo adds a screenshot with private details covered, and asks a short follow-up when something important is missing, so you don’t have to chase them.
Add it to Next.js
- 1
Create your project
Sign up at bopmigo.com, choose Website and add your Next.js address (and
your-app.vercel.appif you test there). - 2
Copy your line
Bopmigo shows your install line under Install snippet:
HTML<script src="https://bopmigo.com/widget.js" data-project="YOUR-PROJECT-ID" defer></script> - 3
Open your project
Find your router: use
app/layout.tsxfor the App Router, orpages/_app.tsxfor the Pages Router. - 4
Paste it
Use the matching example below, keeping your existing fonts, metadata and providers. Replace
YOUR-PROJECT-IDwith the ID from your install snippet.Next.js// App Router: app/layout.tsx import Script from 'next/script'; export default function RootLayout({ children }: { children: React.ReactNode }) { return ( <html lang="en"> <body> {children} <Script src="https://bopmigo.com/widget.js" data-project="YOUR-PROJECT-ID" strategy="afterInteractive" /> </body> </html> ); } - 5
Save and go live
Deploy.
- 6
Send a test report
Open the published page from a phone or another browser. Choose Feedback and send a short report using sample information. Open it in your Bopmigo inbox and check the message, page address and available screenshot.
- 7
Check the reply
Reply from your inbox. Return to the browser that sent the report and open Feedback to read the response. If you enabled email delivery, check that destination too.
Using the Pages Router?
Use this example in pages/_app.tsx instead of the root-layout example above. Keep your existing providers around the page component.
import type { AppProps } from 'next/app';
import Script from 'next/script';

export default function App({ Component, pageProps }: AppProps) {
  return (
    <>
      <Component {...pageProps} />
      <Script
        src="https://bopmigo.com/widget.js"
        data-project="YOUR-PROJECT-ID"
        strategy="afterInteractive"
      />
    </>
  );
}If the button doesn’t show
- Check that the address you’re on is listed in your Bopmigo project. Reports are only accepted from addresses you add.
- Make sure the Next.js site was deployed after you added the line.
- Open the site in a private window, in case an old version is cached.
- If your site has a Content Security Policy, allow
https://bopmigo.com. See which parts.
Answer people where they reported
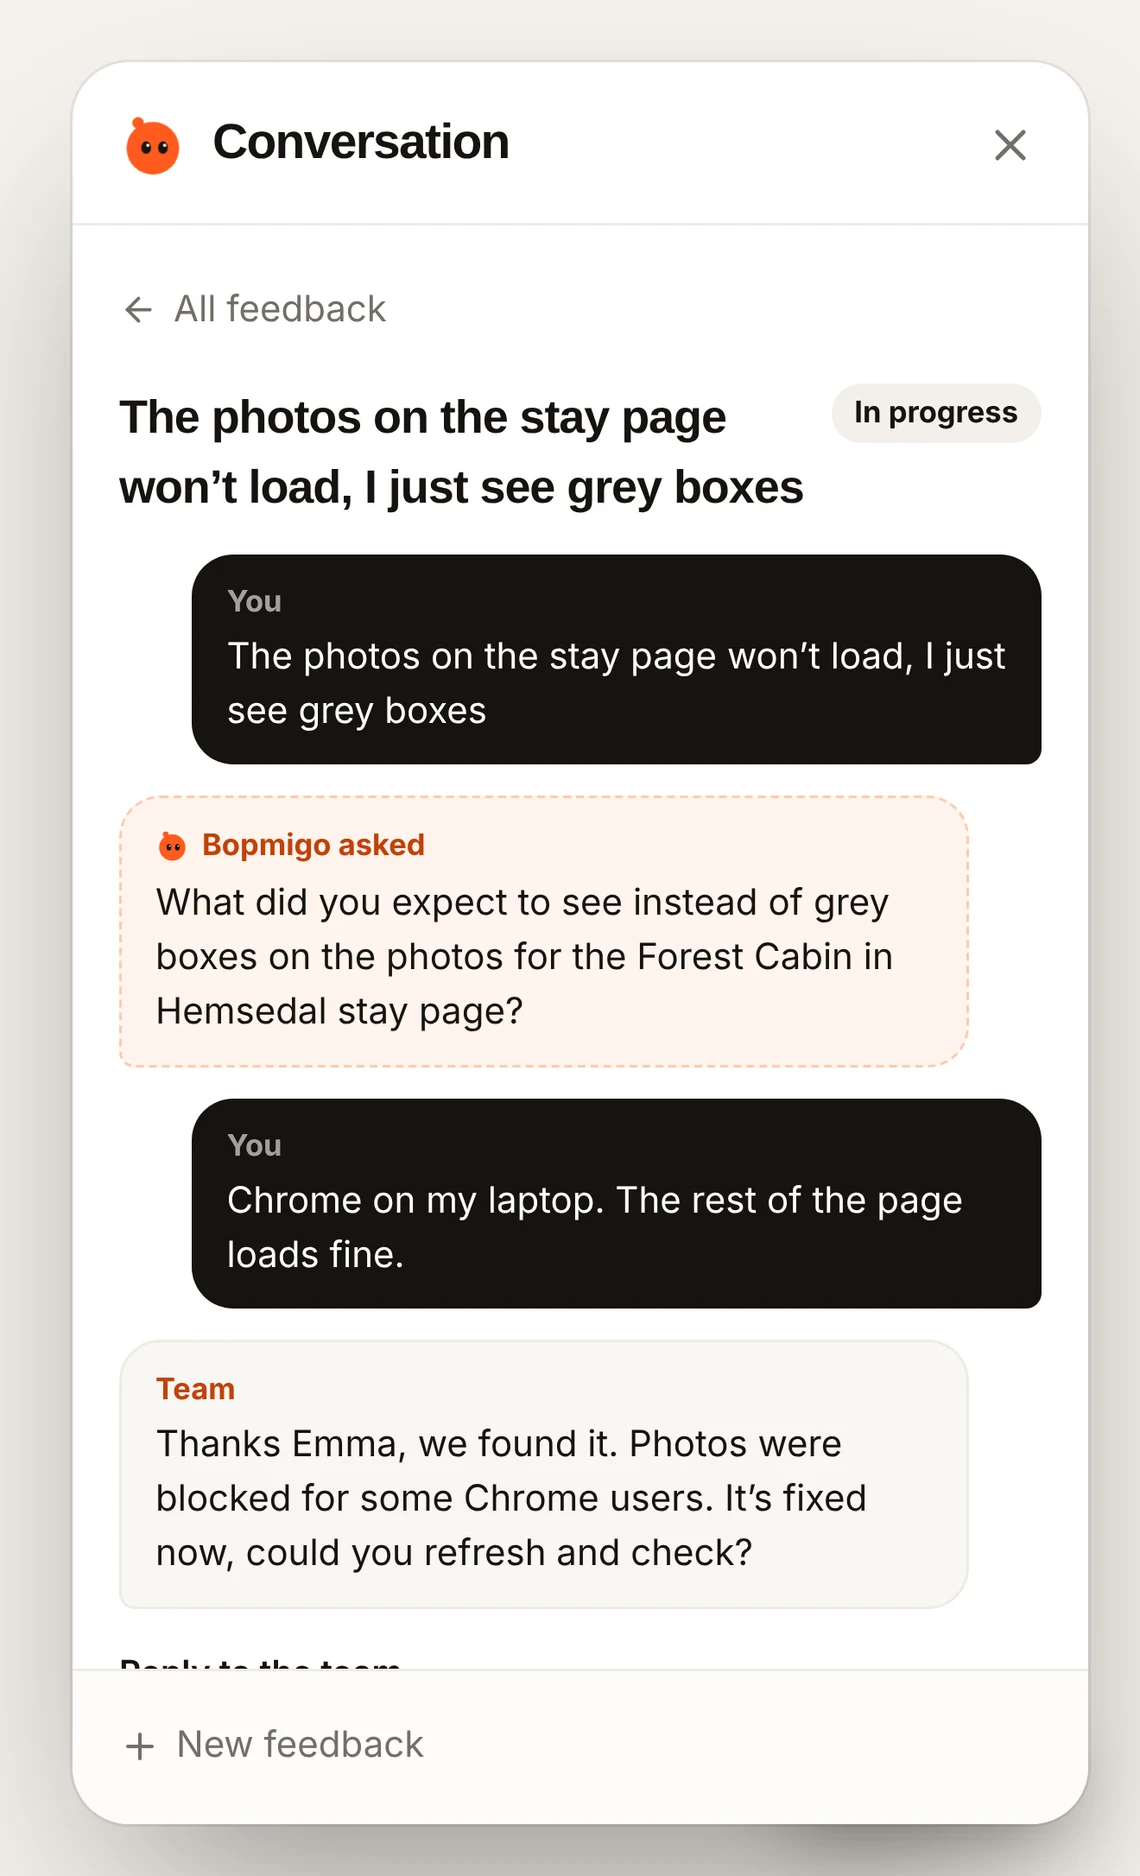
Reply from your inbox or straight from the email. Your reply appears in their Feedback window the next time they open it.
More: every website builder in one place · website options · collect feedback without code